Creating a Presentation with the NEO/Édifice Digital Workspace

Creating presentations with the NEO platform at the middle or high school level allows students to streamline their work, whether in groups or solo. From researching information to giving the final presentation, this collaborative network offers tools to increase efficiency. Follow our step-by-step guide to help your students get the most out of NEO. This comprehensive overview recommends applications for each phase of the presentation process. Feel free to pick and choose the ones most relevant for your educational goals and support needs.
1) Collaborative Information Research on the Digital Workspace
Discuss the presentation in the Forum
Step One: Choosing the Topic. If students are working in a group, they have the option to discuss and select their topic within the Forum application—a dedicated space for dialogue that makes it easier to get organized.
Optimize your research with a Shared Board
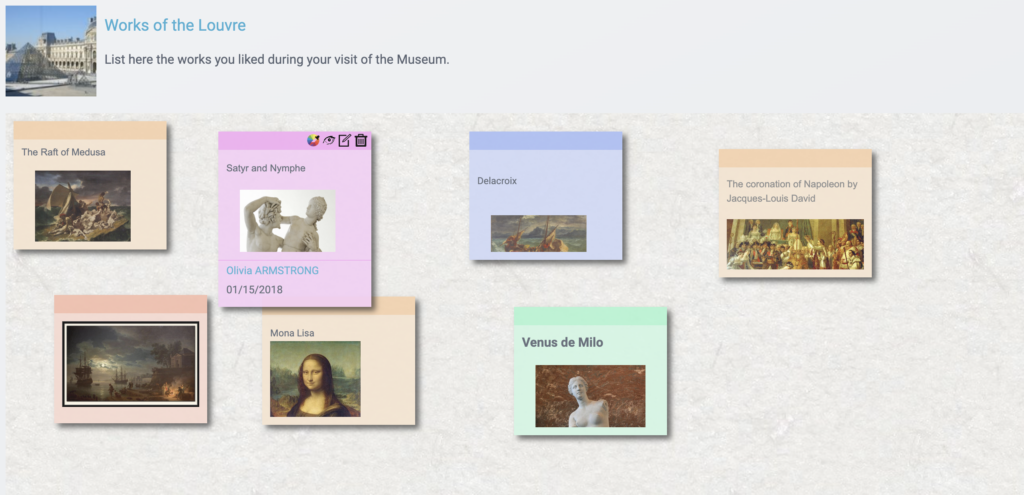
Step Two: For middle or high schoolers, the next step is to do some digging online or head to the library to find useful information on the topic. As they’re researching, they can pin up their finds on a Shared Board, crime-solver style. This NEO app lets your students make a shareable bulletin board and add digital post-its. Like all Édifice tools, they can jazz up your notes with links and media. By arranging their post-its visually, they can kickstart the sorting process. This will help them with the next step of creating a presentation using the digital workspace—outlining their presentation’s structure.

2) Creating a Plan and Drafting the Introduction
Create a presentation with the digital workspace: the Mindmap
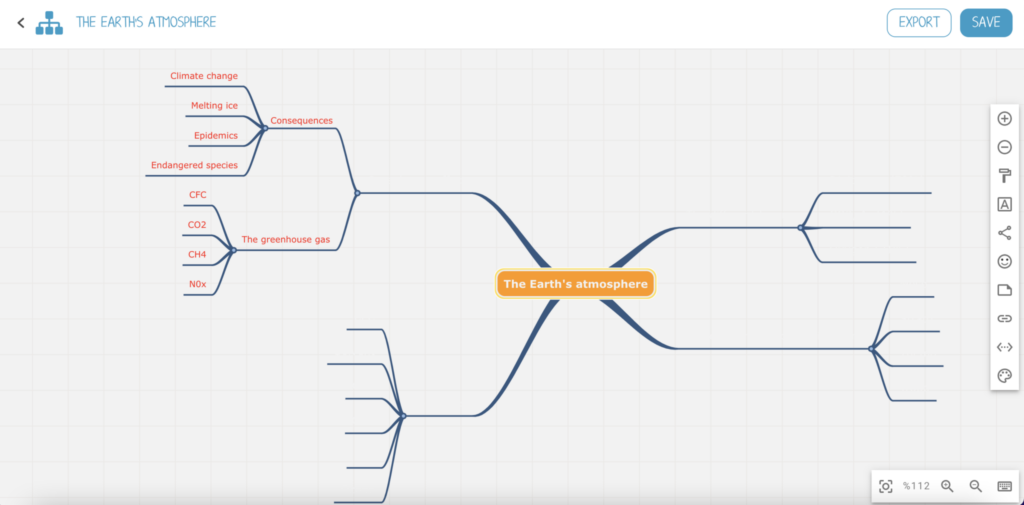
Another way to help students clarify their ideas when creating a presentation with the digital workspace is to make a Mindmap in NEO. With this application, they can organize their main ideas into branches and sub-branches, which is ideal for structuring their thoughts. This process will help outline a plan and possibly identify a research question, if that is part of your assignment.

Divide up tasks and start writing in Pad
Have your students begin drafting the intro and deciding who will tackle each section if they’re working as a team. Édifice’s Pad app allows them to write solo or collaborate in real-time. Everyone gets assigned a color so they can message each other while writing. Sections can be made to organize parts as they come together. The “dynamic history” feature logs all changes so students can replay how the doc evolved. Pad is great for writing papers but can’t add images, videos, etc. So once the content is locked in, they’ll need to polish the formatting in a different program.
3) Drafting the Presentation Content in the Digital Workspace
Time for students to start filling in the blanks of their presentation outline! Following the structure they mapped out, have them draft the meat of each section. Make sure details, examples, and relevant information get woven in to support key points. The NEO digital workspace allows them to enrich their content by embedding photos, videos, links, and more.
Create an Online Encyclopedia with Wiki
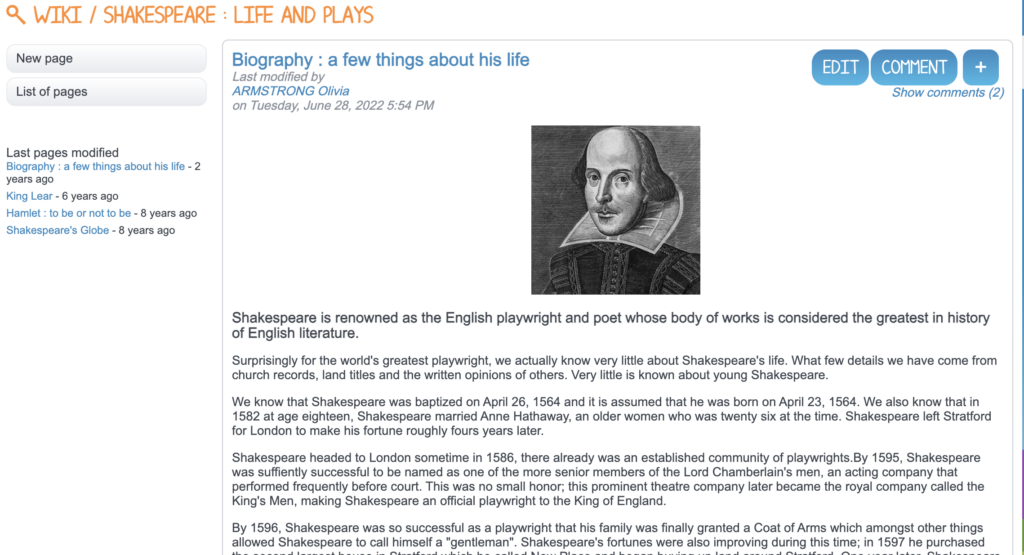
To format the presentation, Wiki lets you publish interconnected web pages on one shared site. Use Wiki to build a collaborative encyclopedia with your class! The homepage can serve as the introduction and table of contents, with links guiding visitors to different sections. Each student contributes to different pages. For the final page, have students summarize key learnings and cite sources. If possible, link directly to online references for easy access. Pro Tip: Design a template page with consistent formatting so all entries look cohesive when pieced together. Once published, students can peek at each other’s pages and leave commentary. Spotlight their hard work for more engagement! Invite parents and classmates to explore the encyclopedic knowledge base they collectively created through the digital workspace.

4) Presenting with the NEO Digital Workspace: Creating Visual Aids
Have students design visual slides to display during their in-class speeches. This will provide high school students an introduction to a professional setting, as presentations in companies often incorporate PowerPoint.
Multimedia Notebook
For a professional polish on group presentations, the Multimedia Notebook app has their backs. This digital workspace tool lets students collaborate on eye-catching slides. Multimedia Notebook offers a number of creative formatting options that are easy to use. Students working in a group can add multiple editors to individually style pages.
Timeline
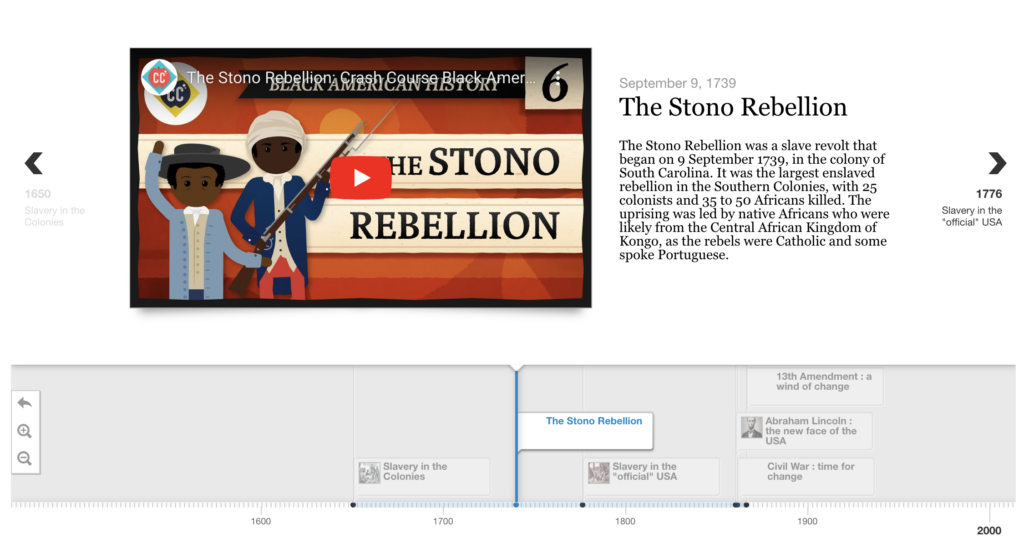
Timeline is another great way to add visual impact to a presentation. While its use in history class to present a sequence of events is obvious, this application has more than one trick up its sleeve. The horizontal scroll paired with the full screen display of events elicits serious “wow” factor and will help your students wrap up their presentations in a way that pops.

5) Practicing Public Speaking with Video Recording
Some of your students may get clammy hands and a shaky voice at the thought of presenting their digital workspace project orally to the whole class. Some of your students may get clammy hands and a shaky voice at the thought of presenting their ENT project orally to the whole class. There’s really only one way to help them improve—practice! With NEO, they can film themselves using the Video Recording tool included in the Studio widget and Text Editor. Middle and high school students can record up to three minutes of video, allowing them to separately rehearse the presentation of each subsection of their project. By viewing the video, they can identify any verbal tics or distracting gestures to work on. They can also get feedback by sharing their recording with others, including friends, parents or teachers, within the secure digital workspace itself. Each new version of the video will make them gain confidence. This is also a great way to practice for oral exams at the end of the year.
comments
Add comment